I call this the "Kitty Love" dress- I happen to NOT love kitties...but my 2 year old little girl? In L-O-V-E with any cat she comes across. I don't feel guilty not having one though since I'm allergic. And cats are mean- they abandon you! Dogs, on the other hand, are always happy to see you and make you feel good. I wonder if there is a whole segment of psychology where they know everything about you based on what pet you like? Anyways, you are here for a tutorial so I will get started, haha!
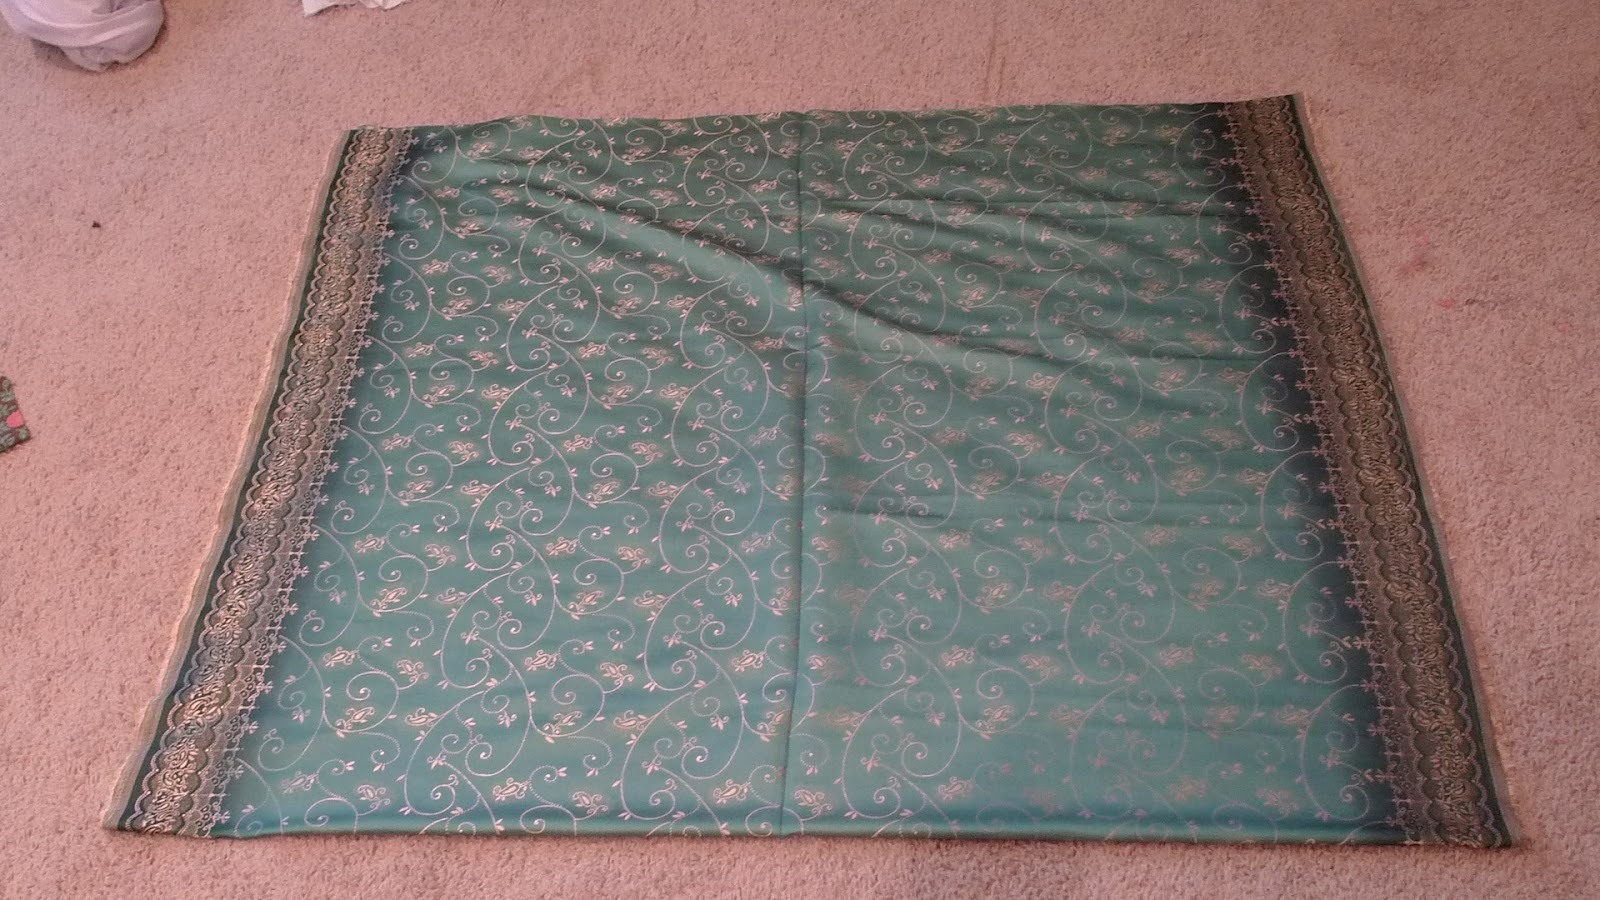
This dress was inspired by the vintage looking kitty cat fabric that I found at Joanns and knew LJ would love.
I wanted the whole dress to have a vintage feel, so I looked at a bunch of Shirley Temple photos and knew it had to be short, have puffy sleeves, and a poofy skirt. Done, done, and done!
KITTY LOVE DRESS TUTORIAL (size 2T)
You will need:
-3/4 yard of main fabric (PREWASH!)
-1/2 yard of complementary fabric (PREWASH!)
-about 10" of pre-ruffled lace
-about 20" of 1/4" elastic
-3 tiny buttons
-sewing supplies (machine, thread, etc.)
First, cut out 2 of each of the following free pattern pieces on the fold.
Back of bodice
Sleeve
Cut four each of
Front Bodice (For the button hole side, leave pattern as-is. For the button side shorten by 1/2" on neck side)
For bodice ruffles, cut out:
1 9.5"x3" strip of main fabric
1 8.5"x3" strip of main fabric
1 5.5" piece of pre-ruffled lace
1 4.5" piece of pre-ruffled lace
For skirt, cut out one piece (or piece together to total)
14"x56" (This is a SUPER short skirt- retro style! If you want it longer, add a few inches to the 14" measurement.)
OKAY...now that you have all your pieces, let's put it together! (Use 1/4" seams throughout)
First, sew your bodice pieces together at the sides. Do this for the outside one and the lining so you have two like the photo below.
 |
| Be sure to iron those seams flat! |
Then, go ahead and make your bodice ruffles. Iron the two main fabric ruffle pieces in half lengthwise. Then use the longest stitch length and tightest thread tension to ruffle them up to 5" (longer piece) and 4.5" (shorter piece). Then, to hold the ruffle in place and to add more "flair", sew the pre-ruffled lace pieces on top.
 |
| Center the bottom of the lace right where the stitch will be. |
You will end up with two of these:
Okay, now get back out those bodice pieces and lay them right sides together. Sandwich the ruffle pieces in between, being sure that the longer/shorter ones are on the correct side! Also be sure that the ruffles are facing the correct side so the lace shows on the front of the bodice.
 |
| Ruffle sandwich- zero calories, mmmm! |
|
Pin and sew the following seams- back neck, front neck (where the ruffles are) and button plackets. Leave the arm holes and shoulders open for now! Snip the back neck so it will lay flat, then flip it all right side out and press.
 |
| Don't cut your thread on accident! |
|
For this next part, it's a little hard to explain. Take the shoulders and line them up, right sides together. You will feel like you are twisting things up funny, but it will work out in the end. Be sure the seams line up.
 |
| Don't catch the ruffle when you sew! |
 |
| Turn right side out and press. It's getting there!!! |
Now, let's make the sleeves.
 |
| Zig-zag the long side of the sleeve pieces. Then tack it down to make a 1/2" casing. |
|
 |
| Sew a ruffle stitch along the large curve of each sleeve. |
|
 |
| Cut your elastic into two 10" pieces and thread each through the sleeve casings. Then attach and trim of excess. |
|
 |
| Then sew the short seam on the bottom of the sleeve. Double stitch over the elastic! Go ahead and ziz-zag over the edge to keep it from fraying. |
|
Now, pin the sleeve onto the OUTSIDE piece of the bodice. You can adjust your gathering along the top as needed to fit. The bottom parts should be pinned flat.
 |
You can see how the gathers are at the top of the sleeve, and the rest is flat. |
Sew both of the sleeves on this way. Then, attach the lining. I wanted to find a way to sandwich the sleeve between for a perfect finish- I'm sure there is a way but I couldn't figure it out! So I just did a serge-like stitch to attach the lining.
 |
| "Serged" and ready for a trim! It's stitch 11 on my Singer machine. |
|
Sew on your buttons and button holes- I used three, but depending on what you can fit you may have more/less. I just loved these little tiny heart buttons!
Now your bodice is complete!
For the skirt, go ahead and hem the bottom (I know, I know, you are supposed to do this lat, but its so easy when its nice and flat!) I used a zig-zag stitch on the edge of my fabric, and hemmed it 1/2".
 |
| Looks nice! |
Now you need to carefully pin the skirt to the bodice, and sew on. I used the "surge" stitch yet again! You will be sewing the button plackets together at the base of the bodice. I went over that twice to be sure it was very secure.
Then you are DONE!!! Put your dress on your little one and let her enjoy! I put a little crinoline under it that we have so it poofs out more- feel free to do that if you have one- it looks just fine without though!
 |
| I always get funny poses like this when I tell her to "model" for me, haha! |
|
|
If you want the matching hair clip, check out this tute that I was inspired by, created by
the letter 4.
Thanks for sticking through this long tute with me! I hope you enjoy! If you make one, please link to it in the comment section, I would LOVE to see it!
Don't forget to join my current
GIVEAWAY! You can always join me as a follower, on
Facebook, and on
Pinterest!
***This pattern for personal use only! If you are interested in using the pattern to make a profit, please contact me for details.***