Thursday, December 27, 2012

Christmas/Christmas dresses!"

"Will smile for Candy"
Trying to get little sissy to smile...I don't think she's having it!

I have been so busy with Christmas and an impending move that I got my Christmas dresses sewn a little later than I would have liked this year.  I used an existing dress as a bodice pattern for my 3 year old daughter and 2 year old niece, then made a onesie dress for my 10 month old.  I used all Michael Miller fabrics (love!!!)  The only request the older girls had was that they be "twirly" so I made circle skirts to attach the the bodice!
Attempt one...
Attempt two...
...and an escapee for attempt three.
Hopefully you can see how I made each a little different.  LJ had the flower pattern bodice, green sash, and dotted skirt.  Lil had a green bodice with bows above the shoulder buttons, red ribbon sash, and floral pattern skirt.  Stella had the floral skirt and the green and polka dot double layered bow at the shoulder.  They each had fabric flower hairclips (headband for Stella).  I love making matching outfits that are each individual like these.  Plus, it keeps me from getting bored when making the same pieces a couple times.
Coming down the stairs to see what Santa brought!

Now, on to Christmas morning.  Did you all have a great Christmas?  LJ is 3 this year, so it was the first time she was really in to it.  She understood Santa, Elf on the Shelf, and was excited about what she asked for.  It actually was funny- she said she wanted Bullseye from Toy Story so her Jesse and Woody could ride him.  For two months that was all she talked about asking Santa for.  Then, when she sat on his lap she said she wanted a "Pink Skateboard with handles" (aka a scooter).  My husband looked at me in alarm, but when we got home I proudly showed him the pink scooter in the office.  I had snatched one up on a whim at the Kohl's black Friday sale.  I guess I know my girl better than I thought!
She wanted Mommy to wear her new Jesse hat, of course I secretly enjoyed wearing a red glittery hat!

 On Christmas morning, she made us proud by helping her baby sister with her gifts from Santa before ever touching her own.  I swear she is normally not a perfect child, but in that moment I was so happy to see that we are doing a good job raising a sweet and caring girl, even if she doesn't show it all the time!

As much as I love the presents and the outfits and the COOKIES- I really am thankful to have a loving family, a nice roof over my head, healthy children, and my faith in God.  In light of recent events, sharing this Christmas with my family felt even more like a gift.

Thanks to all of you who care to read what I have to say, I am thankful for you too!  I know I haven't offered up many tutorials for you lately, but I am hoping to change that now that Stella is a little older.  I am full of ideas for projects!

Until then, have a HAPPY NEW YEAR!


Thursday, December 13, 2012

Christmas Craft Night

Merry Christmas!!! 

Hello all!  It has been a while.  I told you that I was going to take it easy on blogging to focus on my two girls and I have stuck to it (by the way, my stinky little 9 month old is walking- WALKING!  Crazy!)  That doesn't mean I haven't been keeping busy up in my craft room, though!

I have been a sewing machine- I made a few Christmas outfits to make a little cash before the Holidays, I hosted my annual Christmas Craft Night (more on that below), I've been making a few gifts, and I have some Christmas dresses in the works for my girls and my niece.  Whew!  I could use about 100 hours alone up there to get it all done :)

Christmas Craft Night was a success this year! (Well, except for the tummy bug everyone came down with two days later...stupid viruses!) I've got it down to a science finally.  Updated guidelines:
-No more than 10 guests
-Have them each pitch in $5 instead of having them each bring a supply
-Have everyone bring a snack to share
-Only 3 easy, affordable projects

I provided all supplies (I spent more than $5 per person, but at least the $5 each helped!), some snacks, all drinks, and instructions.
This year's projects were:

Freezer Paper Stenciling on pillow covers (I sewed them all!)
Materials needed: fabric to stencil on, silhouettes of images printed in b/w, exacto knife fabric paint, sponge brush, freezer paper, and an iron. 
 Instructions:  Lay freezer paper over the image you choose.  Use an exacto knife to carefully cut out image.  Iron the freezer paper stencil onto the fabric (no steam and medium heat!)  Then paint lightly, allow to dry, and peel off freezer paper.  Then iron again to heat set the paint!  Voila!

Upcycled Jar Snow Globes
Materials:  clean empty glass jars (any type), liquid glycerin, white glitter, plastic snowflakes, tiny figurines (I raided the mini Christmas tree ornament aisle), hot glue
Instructions:  Glue figurines in the lid of the jar, being careful to keep them inside the seal area. (Otherwise your jar won't close!)  In the jar itself, place some glitter, snowflakes, a few drops of glycerin, and purified water.  Place lid on jar, and hot glue around the edge to be sure its sealed!  EASY!!!

Salt Dough Ornaments/Gift Tags
Materials Needed: Salt, flour, water, cookie cutters, and optional- foam Christmas stamps (found mine at Hobby Lobby)
Instructions- Stir together 1/2 cup salt, 1 cup flour, and 1/2 cup water.  Add food coloring if desired.  Roll out like cookies- about 1/2" thick.  Cut out shapes and use stamps for texture or design. (I used the snowflake stamp for these but also had a snowman, gift box, santa, etc.)  Bake at 225 degrees F until dried out, approximately 3 hours.  Then add glitter, paint, etc. to decorate! 
I had everyone bring their own home to bake or offered to bake them and deliver at another time.


Do you craft with your friends at Christmas?  If so, what are your favorite ones to make with a crowd?  I'm already gathering ideas for next year's party!!!
Have a fantastic Christmas and I hope to find time to blog a little more often, I really love sharing my ideas with you and hearing yours too!!!

Sunday, November 11, 2012

Violette Field Threads pattern review- Josephine

In her "Josephine" blouse.

Hi, I've still been MIA!  Still sewing, crafting, entertaining, and decorating...just not finding a lot of time to photograph it and blog about it!
I hope to show off some of my Christmas sewing soon- dresses for the girls as well as plenty of Christmas skirts, tie shirts, and onesie dresses that I am selling. (Just a one-time Christmas thing for now, no shop open permanently).
I also grabbed some cute flannel at Joann's this week to make PJ pants.

BUT as to the topic of this post, LJ had her 3rd birthday!  Per her instructions, it was an "Ocean, Mermaid, Fishy, Shark" party.  In that order, haha!  I always sew a birthday outfit, and this year with two kids it was much harder.  My sister AND sister-in-law had to come over to help me with the baby so I had time to sew.  They also majorly helped me clean, so I owe them big time! 
This year I opted for my first Violette Field Threads pattern.  I have always been a fan of their aesthetic, but I usually invent my own patterns since I like adventure and if I'm honest, I'm a cheapskate sometimes too.  But their PDF patterns are so affordable and super cute, so I bought two!  I intended to sew a pair of their Whitney pants to go with this top, but I ended up not having time.  Good thing she had a navy blue skirt to wear!

Her top requested gift- Jesse the cowgirl!


The details:
FABRIC- to go with the party theme, I used an adorable whale print from Joanns.  Yes, I would have loved to use the Dear Stella Anchors Away line, but time was a factor since I kinda procrastinated so I couldn't get any in time!   Then I found a yellow fabric that picked up the yellow hearts in the design.  Bright, I know.  But hey, its for a 3 year old, haha!

NOTIONS- All you need are a few buttons, depending on the size and if you want non-functioning buttons on the arm cuff.  Also, a little bias tape but I usually make it from the fabric.  I used some plain off-white buttons, as my fabric was a little "loud."

THE PATTERN-  The pattern can be made as a blouse or a dress, with long sleeves or a pretty flutter sleeve.  I chose to make the long sleeved blouse.  It has pretty pintucks and a ruffled button placket.  The sleeve is a puff sleeve.  My only fuss with the long sleeve pattern is that it does not button at the cuff.  I think this would have been good for the pattern to have because then you could roll it up a little depending on weather and to be stylin', do ya feel me?  I think they wanted a super tailored looks so that might be why they didn't have it.  It comes in sizes 2T-10.  I wish they had baby patterns too so I could make the baby a version to match, haha!

I love the collar on this blouse!


CONSTRUCTION- Overall, I believe it took me about 4 hours of fabric cutting and garment construction, which isn't too bad.  I really went against my nature and tried to be a perfectionist with this one.  The tedious part was constructing the paper pattern from the printed PDF.  So much cutting out, taping, re-taping to make it lie flat, etc.  It was a pain.  Even though as I mentioned above I can be a cheapskate, I totally want to splurge on their printed patterns for next time.  As a busy mom all this cutting and taping took up very precious time that I could have used sewing!  Lesson learned!

FIT- I followed the measurements on the chart.  LJ fell right on the line, so I chose the larger size thinking she would have room to grow.  Unfortunately, it JUST fit her perfectly (and yes, I preshrunk the fabric and followed their seam allowances).  So I would recommend going up at least one size.

OVERALL OPINION-  Very versatile pattern, GREAT instructions with detailed photos, intermediate skill set, and comes in nice size range.  If you have limited time and can afford it, buy the paper pattern, not the PDF!  Grade: A- (points off for slight sizing issue). 

Mommy and Daddy's least favorite gift- a rooster alarm clock.  Granny and Grandpa in Tennessee must have it out for us!
That's all for now, I hope I can find more time to blog soon.  I do miss it.  I have so many creative ideas and I love having this outlet for them!  Have a great Thanksgiving!!!

Thursday, October 11, 2012

I love Coconut Oil!

I have been using coconut oil for a while and now I finally feel like I've learned enough to write up a post about it!  I'm sure there are many more tips and uses out there, but this can be a start for you if you've never used it before.
Some people claim that coconut oil can help lower cholesterol, help with weight loss, aid in digestion...but I'm not sure if any of this has been proven.  These benefits would be great, but I am happy to have an organic natural oil to use in my cooking and beauty regimen!

Cooking tips:
As a butter replacer-
I have found that coconut oil works really well as a butter replacement when making grilled cheese!  It spreads up great on your bread.  It does NOT make a good "topping" so don't try to replace your butter for everything! (And use real butter, okay?  None of that weird stuff.  A little real butter won't hurt you!)  It also works as an ingredient in buttercream frosting, and bonus, the frosting is nice and white!  This could get a little expensive though!  You really could use it for any baking needs that call for butter and it works great.

As a cooking oil replacer-
Sometimes after being cooked at a high heat the coconut oil takes on a strange aftertaste, but usually it works just fine.  There is a slight coconut taste which I love, but depending on the recipe you want to use it in this might not be a good thing!  It works AWESOME to make homemade popcorn in the pan,  I love it!  I also love it for cooking fish and chicken, but not so much for eggs.  You can use it to replace oil in recipes such as quick breads and other things that call for oil.

Things it is not good for-
Its solid at room temp, so its not a good salad dressing oil.  Also, as mentioned above it is pretty flavorless so it doesn't make a good topping.


Beauty tips:

Moisturizer-
This is pretty self explanatory, I mean, its an oil, haha!  I've used it on my eczema and it works nicely.

Hair treatment-
Get your hair wet with hot water, squeeze out the excess water, then spread coconut oil and comb through.  Let it sit up in your hair wrapped in a towel, then wash out after you have let it rest for about 20 minutes.  Nice, shiny, silky hair!
A tiny dab after every washing for very dry hair (like my naturally curly mane) works wonders!
It also works as a sort of pomade.  Just be VERY careful and use a tiny bit at a time until you get the desired "look".

Natural deodorant-
I have to give my friend credit for this one.  She has been putting some on her armpits, then dabbing baking soda on top.  She said it even passed the "gardening outside in summer" test.  I have yet to try it but I just might!  What a great idea!

Make-up tips-
Stubborn waterproof mascara?  Use some coconut oil to wipe it off!
Dry lips?  That's right, rub some coconut oil on that pout!
Turn a powdered make-up into a cream- yup, mix it with a dab of coconut oil!


Like I said, I'm sure there are a million more uses, but hopefully these have inspired you to grab a jar and get started!  You will love it!

Please share your uses and tips for coconut oil below!

Monday, October 1, 2012

Keeping your identity safe!

This is a Sponsored post written by me on behalf of LifeLock Facebook for SocialSpark. All opinions are 100% mine.

Have you ever had your identity stolen?  My husband recently had his bank card hacked somehow, and thankfully we were able to get it taken care of.  But it definitely was a scare!  It got me wondering just how safe we were when it comes to our identity.  I can only imagine how horrible it would be to deal with other forms of identity theft.  In this day and age of technology being everywhere, how can you be sure you're protected?

AmeliaIZEA | skitch.com

Did you know...

• Households earning $100k + per year have the highest identity fraud rate at 7.4%
• The average cost per person of having identities stolen is $1,513
• 11.6 million adults were victims of identity fraud in 2011 and a total of $18 billion was lost.

Alarming stats for social media/ smartphone users that have experience identity fraud:
• 6.6% of victims are smartphone owners
• 6.8% of victims are social media users who click on the applications
• 8.2% of victims are social media users who have “checked in” using their smartphone GPS
• 10.1% of victims are LinkedIn users

My family fits a lot of these categories, ouch!

I checked out Lifelock.com and it looks like they can offer peace of mind.  They have what they call 5 points of protection- Monitoring your identity, Scanning for identity threats, Responding to identity theft, a Guarantee of their services, and Tracking of your credit score.  These are the benefits your get if you sign up for their services.

They also provide a site to see how safe your password is- click below!

How hack friendly is your password?

As you see, Lifelock could be a very valuable way to protect your family.  Have you used Lifelock?  Have you had your identity stolen?  Please share your experiences!  Also, check out the Lifelock Facebook page. LifeLock on Facebook

Visit Sponsor's Site

Thursday, September 27, 2012

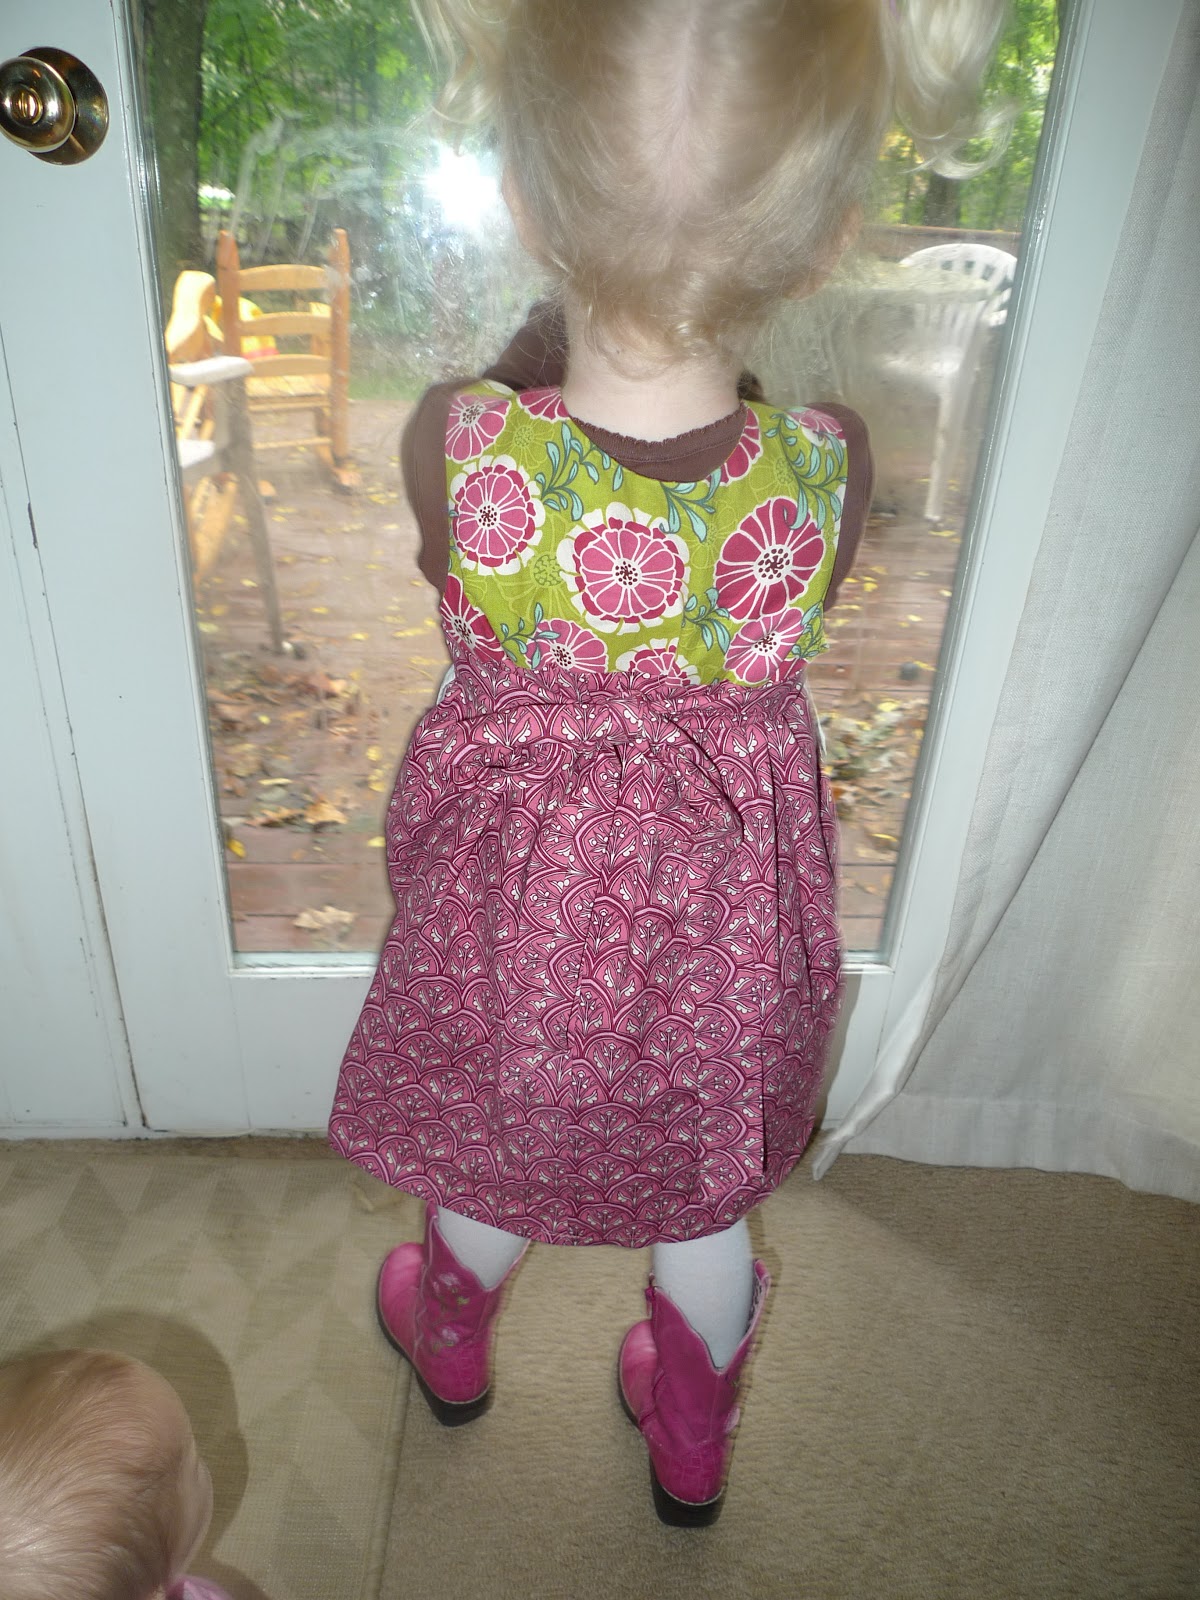
School Pictures Apron Dress

I had bought some fabric a while back to make an apron dress.  I had a vintage tea towel in my stash that I had my eye on as a perfect "apron" for the dress.  After having my second child, I discovered that sewing time was much harder to come by!  So in the sewing room the fabric sat, for at least two months.  I finally decided to make it for LJ's school photo, but then time got away from me and I didn't get to it until the NIGHT before!!!  Eek!  Well, I am surprised to say that I was able to squeeze it out in less than two hours, lined bodice and all!
She got a cookie for this pose!
back tie
buttons to close shoulders, decorative bow at waist
Using her make-up brushes on her sister, my little budding make-up artist!

Tuesday, September 25, 2012

Wine-terest night (cheesy name alert!)

I mentioned my new idea for hanging out with my friends in a past post!  I am finally getting around to sharing the result of my first Wine-terest night!
Drink wine.  Make your pins.  It's simple!

My friend Aimee and I had not really hung out since we were pre-teens.  Our parents went to high school together so we grew up hanging out.  Well, after many Facebook comments and mutual pins on Pinterest, I was like....hey, I have an epiphany- LETS ACTUALLY HANG OUT!!!! hahah!!!  Technology is great, but it makes me lazy.  I've got people I talk to on Facebook that I hardly hang out with in "real" life!  To remedy that, I had the idea to keep an eye out for things a friend and I both pin, then setting a date to get together and actually make it and hang out.  Bonus points for wine and snacks :)
Here was the pin we both loved:

http://www.etsy.com/listing/81650613/autumn-fall-tulle-wreath-a-must-see?ref=sr_gallery_34&ga_search_submit=&ga_search_query=autumn&ga_view_type=gallery&ga_ship_to=US&ga_page=3&ga_search_type=handmade&ga_facet=handmade
  
It is an esty shop if you want to go buy one!  I pu the link under the photo for your convenience and to give credit where due.
Aimee and I had a great time catching up, and here is what we came up with!

On the left is Aimee's cute fluffy one, and on the right is my "stripey" one.  Both cute!
We decided they could double as lion's manes.
So get pinning, hang with your friends, and have a great time!!!